Full Machine Set Up (Models 3653, 3654, 3655 & 3656)
Your brand new combo vending machine is ADA and Energy Star compliant and perfect for making money dispensing snacks, drinks and more to your customers. Our machines are built with the best materials, manufactured in the U.S.A. and are designed to provide vendors with dependable operation well into the future.
When receiving your refrigerated combo vending machine make sure you have the necessary tools to unpackage the machine, remove shipping skids, level machine and attach back screen protector. Be sure to inspect the exterior of all cartons for damage after you receive the vending machine. Examine the equipment visually for signs of damage. If there is any damage, specify where the damage is located and take photos and send them to the factory.
Tools required for machine installation include:
1:20 Machine Damage Protocol
1:56 Opening Machine
3:15 Remove Shipping Skids
4:16 Place Machine 4 inches from the Wall
5:58 Leveling Machine
6:38 PayRange
7:16 Coin Mechanism & Bill Validator
10:35 Loading Machine
13:03 Dual Motor Installation
You can easily open the vending machine and remove the wood shipping skids by following these easy steps. Also, you must position the machine at least 4 inches from the wall.
This video also describes how to set up your coin mechanism and bill acceptor. It also describes how to load candy, bottles, sandwiches, pastries, salads, snacks, and other items into the machine.
Be sure to watch this video to properly maintain your refrigeration unit in your combo vending machine so it will run smoothly for many years to come.
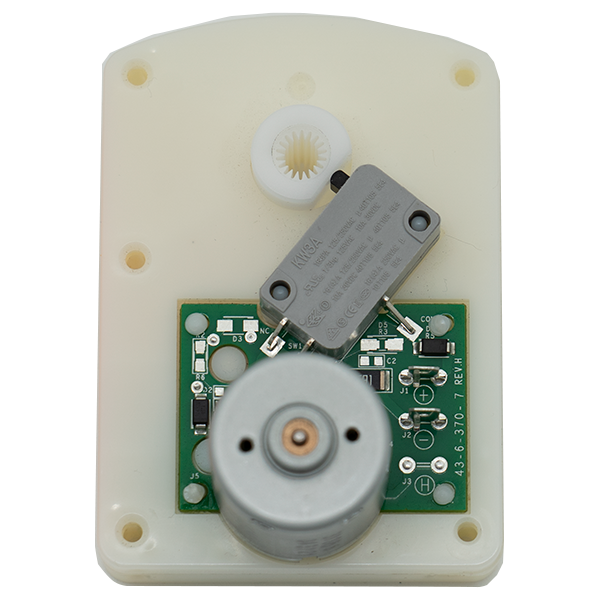
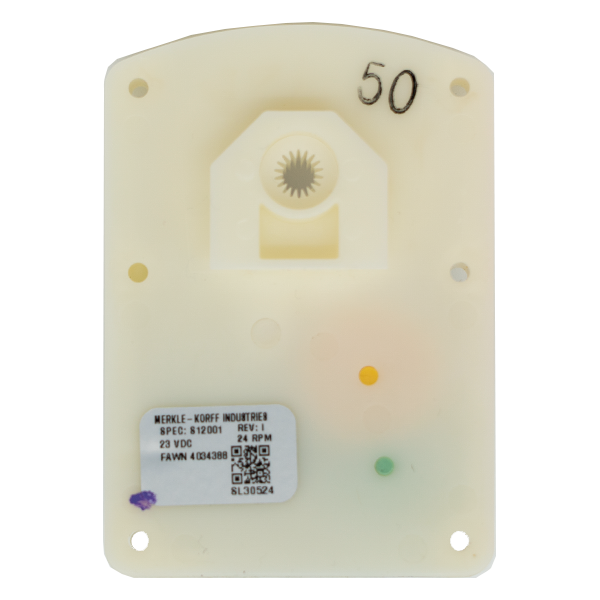
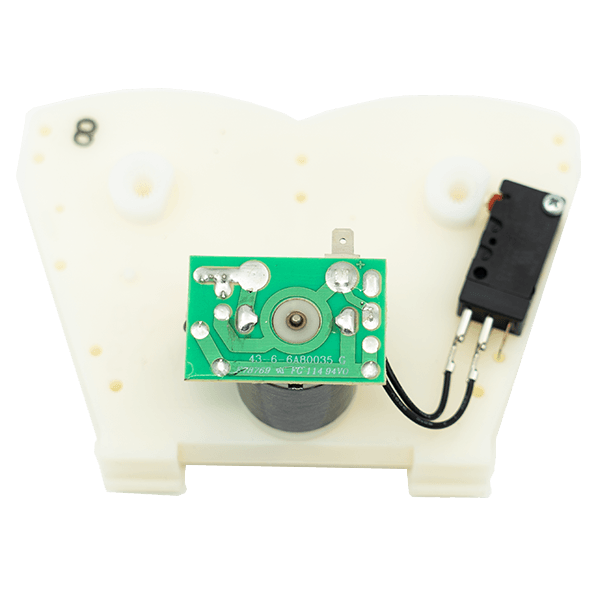
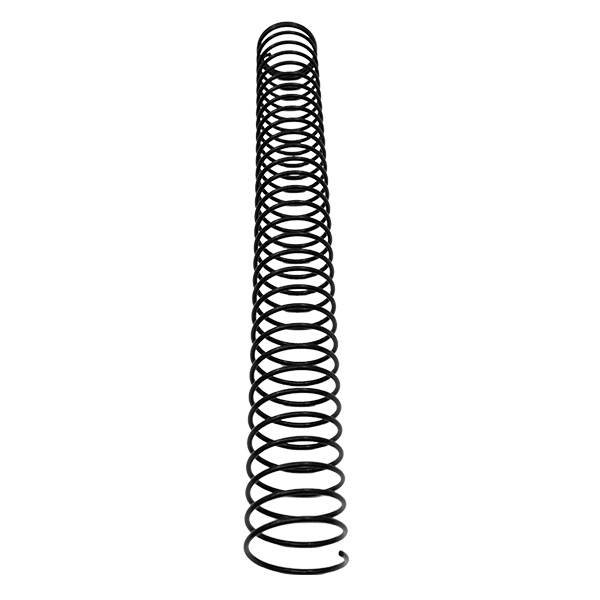
Find our selection of motors and coils on our website for online ordering.
See our full library of Flex programming videos here.
For additional support, visit our Help Center.Language: English
Difficulty: Easy
Duration: 1 hour or more
Models: 3623, 3624, 3625, 3626


