Drop Sensor Replacement (Model 3578)
This video seeks to help operators understand how to replace the Drop Vend Sensor in a Model 3578 Vending Machine. The Drop Vend Sensor detects when a drink is dispensed so the machine can make sure the customer receives the product they paid for.
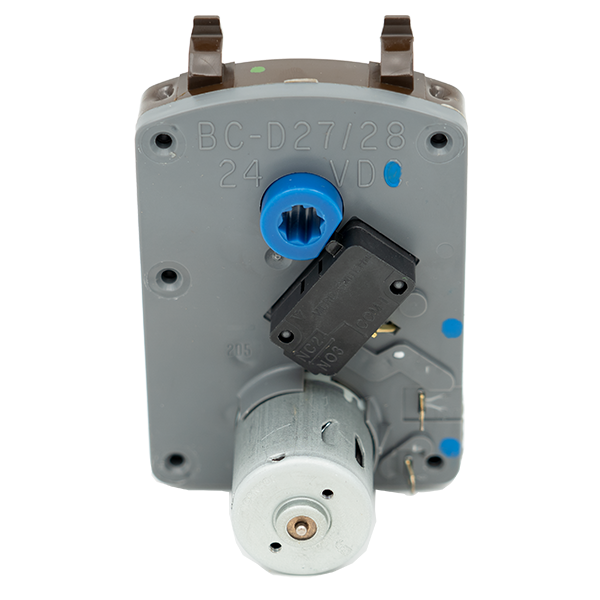
Tools you need include: A Drop Sensor Kit 4215931.003, A Phillips Screwdriver, 5/16” inch nut driver, zip ties, & a blade to cut zip ties.
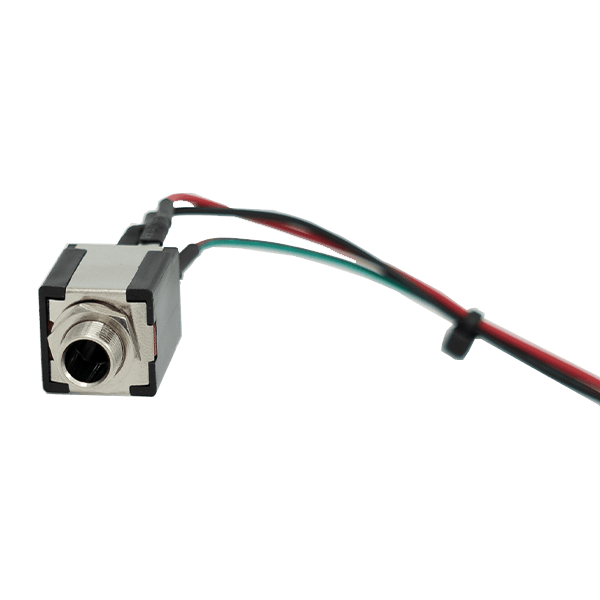
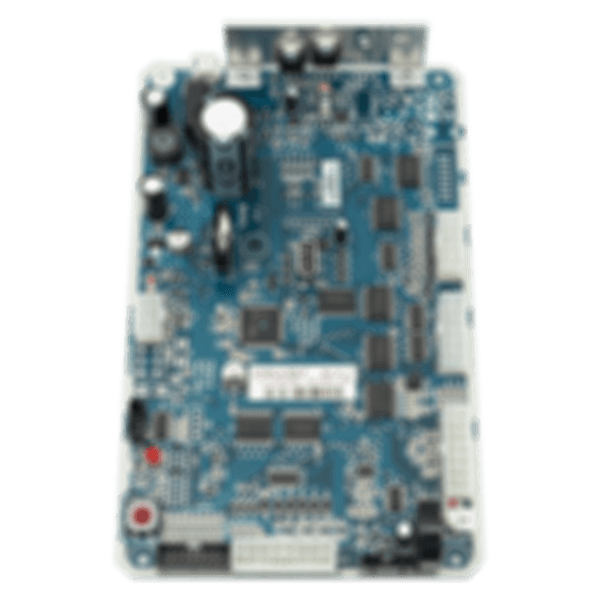
Ensure that your machine is powered off and open the door in front of the machine and find the gray sensor harness on the control board. Unplug the gray sensor harness from the top of the control board here. Follow the harness and remove the zip ties so you can free the harness.
The harness goes underneath the display area. You will need to use a Phillips screwdriver to remove three screws under the display area. Next remove 3 Phillips screws to take off this side panel so you can free the gray sensor harness behind the side panel. Remove the ground wire.Now remove the spring. Remove these P-Clamps and ground wire. Remove the P-Clamp. Clip zip ties to remove the black tubing. You can use the tubing when connecting the new harness.
Then, unscrew these 2 P-Clamps to free the harness from up here, in front of the refrigeration unit.Now remove this silver plate. Remove the 3 Phillips screws under the hopper. We recommend taking a picture of how high these screws are so that when reinstalling they are placed at the same height. When removing the hopper make sure you lift up and out so it doesn’t get caught on the bracket underneath. On the back of the hopper remove these three 5/16in screws so you can access the drop sensor.
Next, lift the hopper back into the machine. Connect it with the three Phillips screws in the front. Place them at the same height they were when you removed them previously. Find the end of the Gray Harness and connect it to the control board. Replace the zip ties. Make sure the wires are out of the way.
Replace the 3 Phillips screws underneath the display window. Then attached the side panel with the wires running behind it. Attach the ground wire at the bottom. Reattach the black tubing. Secure with zip ties. Attach the P-Clamp. Now reattach the ground wire and then the P-Clamps to the left and top of the refrigeration unit using a Phillips screwdriver. Make sure the gray sensor harness comes through the hole at the top of the power box. Use the permagum to re-secure. Then reattach the silver plate cover. Finally Secure the spring from the tubing to inside the machine.
Language: English
Product Type: Installation
Difficulty: Easy
Duration: 5-15 Minutes
Related Products